Summary
Unsecured USB ports on Windows devices pose significant security risks, from data theft to malware injection, making robust control essential for data loss prevention (DLP) and regulatory compliance. Basic methods exist within Windows 10/11 itself, such as using Device Manager, Registry Editor, or Group Policy Editor. These built-in options often lack centralized management, specific device whitelisting, and temporary access features necessary for comprehensive enterprise-level security. This guide details both the native Windows 10/11 approaches and highlights how CurrentWare AccessPatrol offers a more streamlined and granular solution for managing all types of endpoint devices across your network, ensuring both security and operational efficiency.

Case Study
Viking Yachts Stops an Employee From Stealing Their Intellectual Property
As Viking Yachts grew, their network administrator Vincent Pecoreno was responsible for supporting over 530 users and 1500 devices across multiple geographic locations, making visibility a challenge without the right tools in place.
Once equipped with CurrentWare’s user activity monitoring and data loss prevention solutions, Viking Yachts had the insights they needed to protect their sensitive data.
Read their case study to learn more about how Vincent used CurrentWare to detect a data theft attempt from a soon-to-be-ex-employee.
1. Introduction
Unsecured USB ports on Windows 11 present a significant security risk to organizations. These vulnerabilities can lead to data breaches, malware infections, and compliance issues. CurrentWare AccessPatrol stands as the definitive solution for achieving centralized, granular USB control across your network, ensuring the security of your sensitive data.
As Viking Yachts grew, their network administrator Vincent Pecoreno was responsible for supporting over 530 users and 1500 devices across multiple geographic locations, making visibility a challenge without the right tools in place.
Once equipped with CurrentWare’s user activity monitoring and data loss prevention solutions, Viking Yachts had the insights they needed to protect their sensitive data.
Read their case study to learn more about how Vincent used CurrentWare to detect a data theft attempt from a soon-to-be-ex-employee.
2. Why USB Port Control is Critical for Data Loss Prevention (DLP)
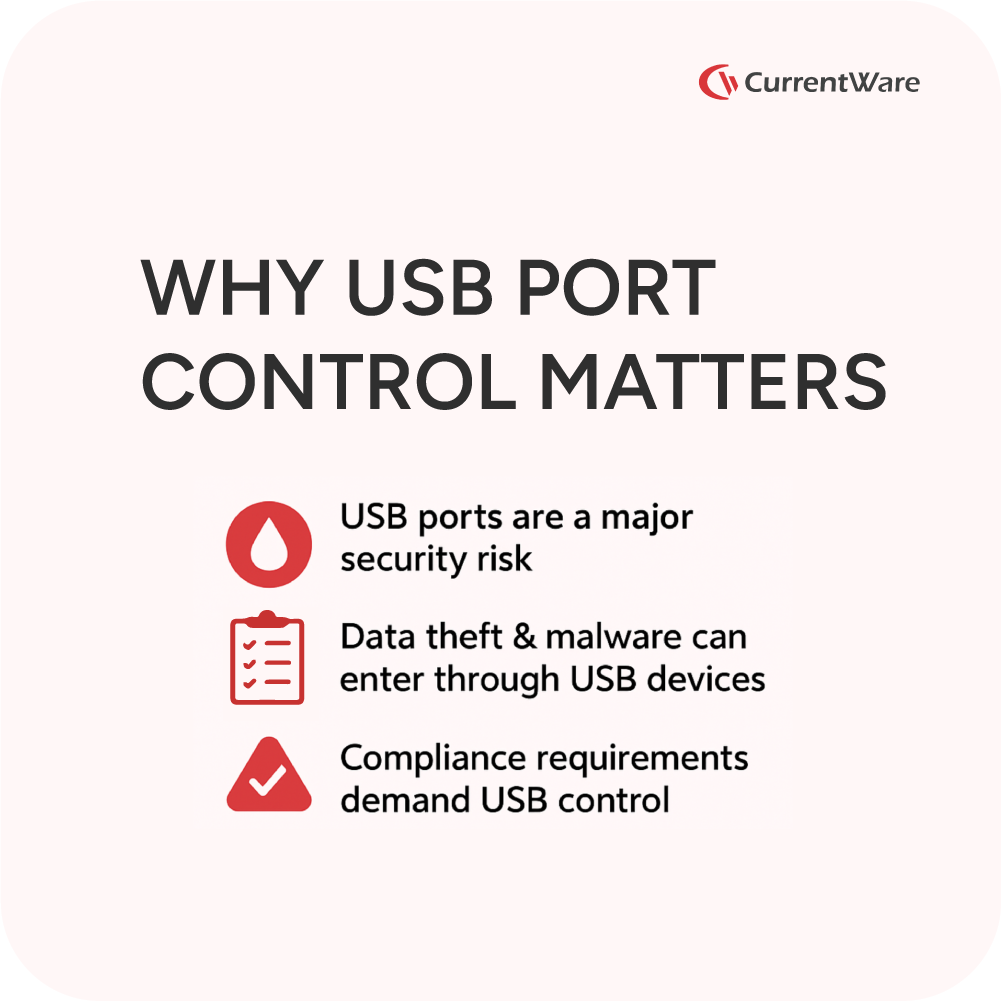
Implementing robust USB port control is essential for any comprehensive data loss prevention (DLP) strategy. There are two primary risks associated with uncontrolled USB access:
- Data Theft: Unauthorized individuals can easily copy sensitive files, such as client lists, financial records, or intellectual property, onto portable USB drives.
Also Read: USB File Transfer History Reports, Alerts, and Dashboards
- Malware Injection: Infected personal USB drives can introduce viruses, ransomware, or spyware into your network, leading to widespread system compromise.

Furthermore, strict USB control helps organizations meet various compliance requirements, including regulations like GDPR, by preventing unauthorized data transfers.
Also Read: AccessPatrol USB Device Control Software—Stop Data Theft
3. The Smart Approach: USB Storage vs. Essential Peripherals
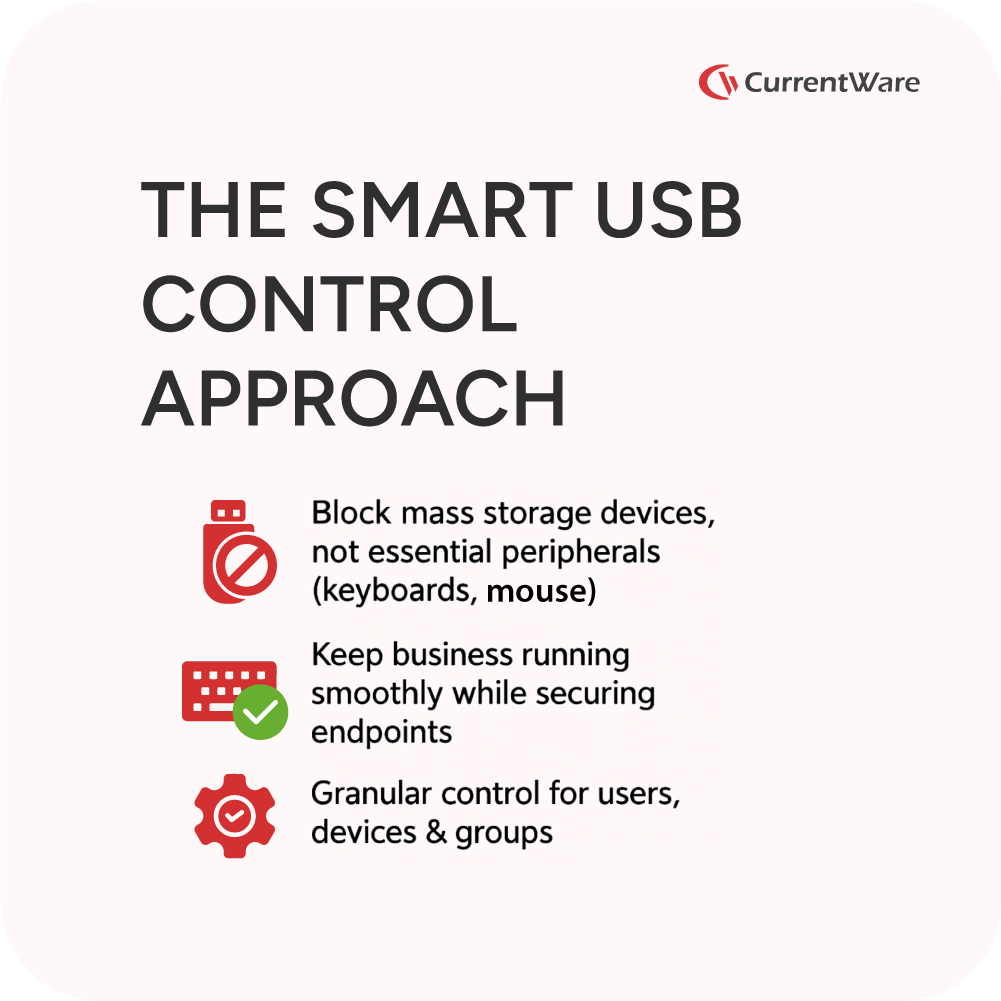
A common concern when considering USB blocking solutions is the potential to disrupt essential business operations. With CurrentWare AccessPatrol, you can rest assured that critical peripherals like keyboards, mice, and other essential devices will not be blocked by default. AccessPatrol’s primary focus is on blocking mass storage devices, which are the main vectors for data theft and malware. This intelligent approach allows you to maintain productivity while significantly enhancing your security posture.

How to Keep Data Safe When Offboarding Employees
The employee offboarding process presents significant data security risks. Employees have intimate access to corporate data, insider knowledge of the organization’s systems, and a level of trust that can allow them to steal data undetected.
Click the button below to learn the best practices for managing insider threat risks during offboarding & gain access to a checklist of key cybersecurity items you must include in your offboarding process.
4. Centralized Control: How AccessPatrol Simplifies USB Blocking Across Your Network
Managing USB port security across an entire network can be complex and time-consuming using traditional methods. CurrentWare AccessPatrol simplifies this process by offering centralized control from a single, intuitive console. This drastically contrasts with the complexity and limitations of using Windows Group Policy (GPO) or manual registry edits, which often lack real-time monitoring capabilities and the flexibility for user-specific rules. AccessPatrol provides a streamlined solution for comprehensive endpoint USB control.
Also Read: How To Prevent Files From Being Copied To USB Devices
5. Step-by-Step: How to Configure USB Restrictions in Windows 11
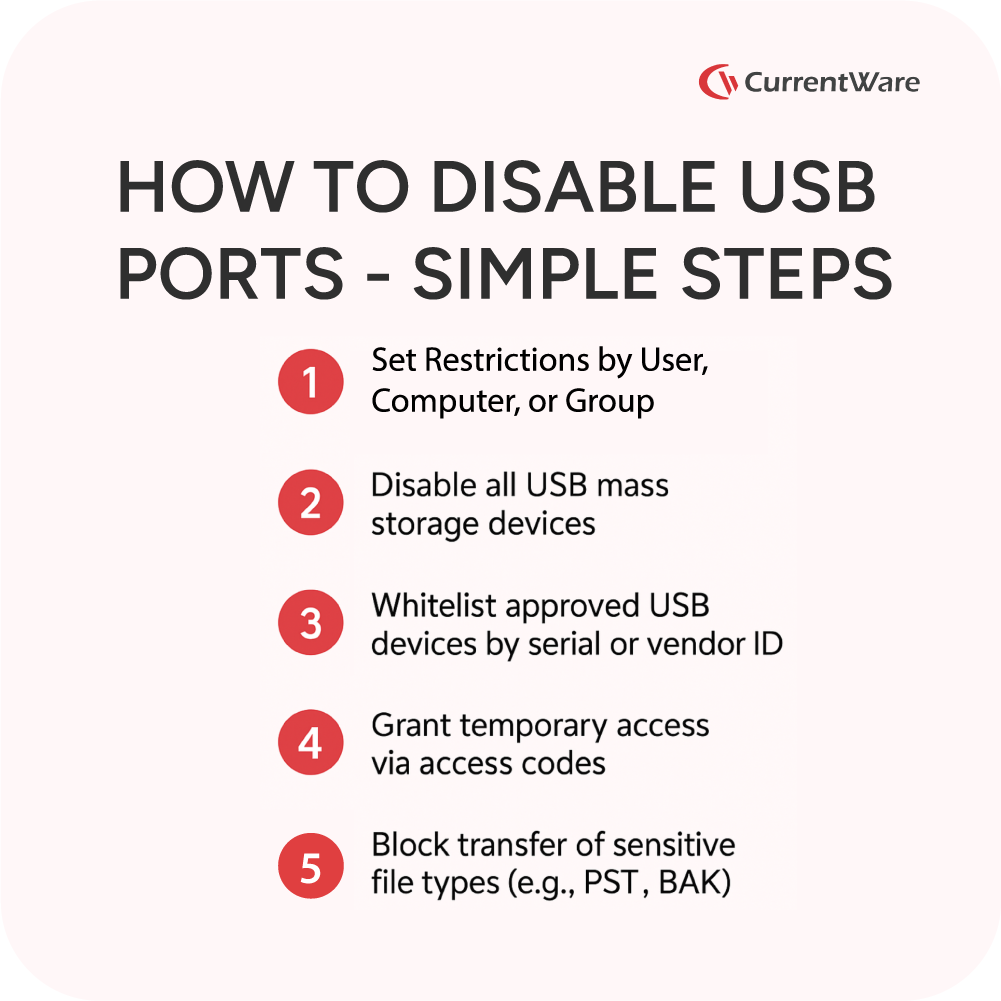
CurrentWare AccessPatrol offers unparalleled flexibility in configuring USB restrictions on Windows 11 computers. Here’s a step-by-step guide on how to implement these controls:
A. Setting Restrictions by User, Computer, or Group
AccessPatrol allows you to apply highly flexible policies based on specific users, individual computers, or predefined groups. This granular control ensures that security policies are tailored to meet your organization’s specific needs.
B. How to Disable All USB Mass Storage Devices
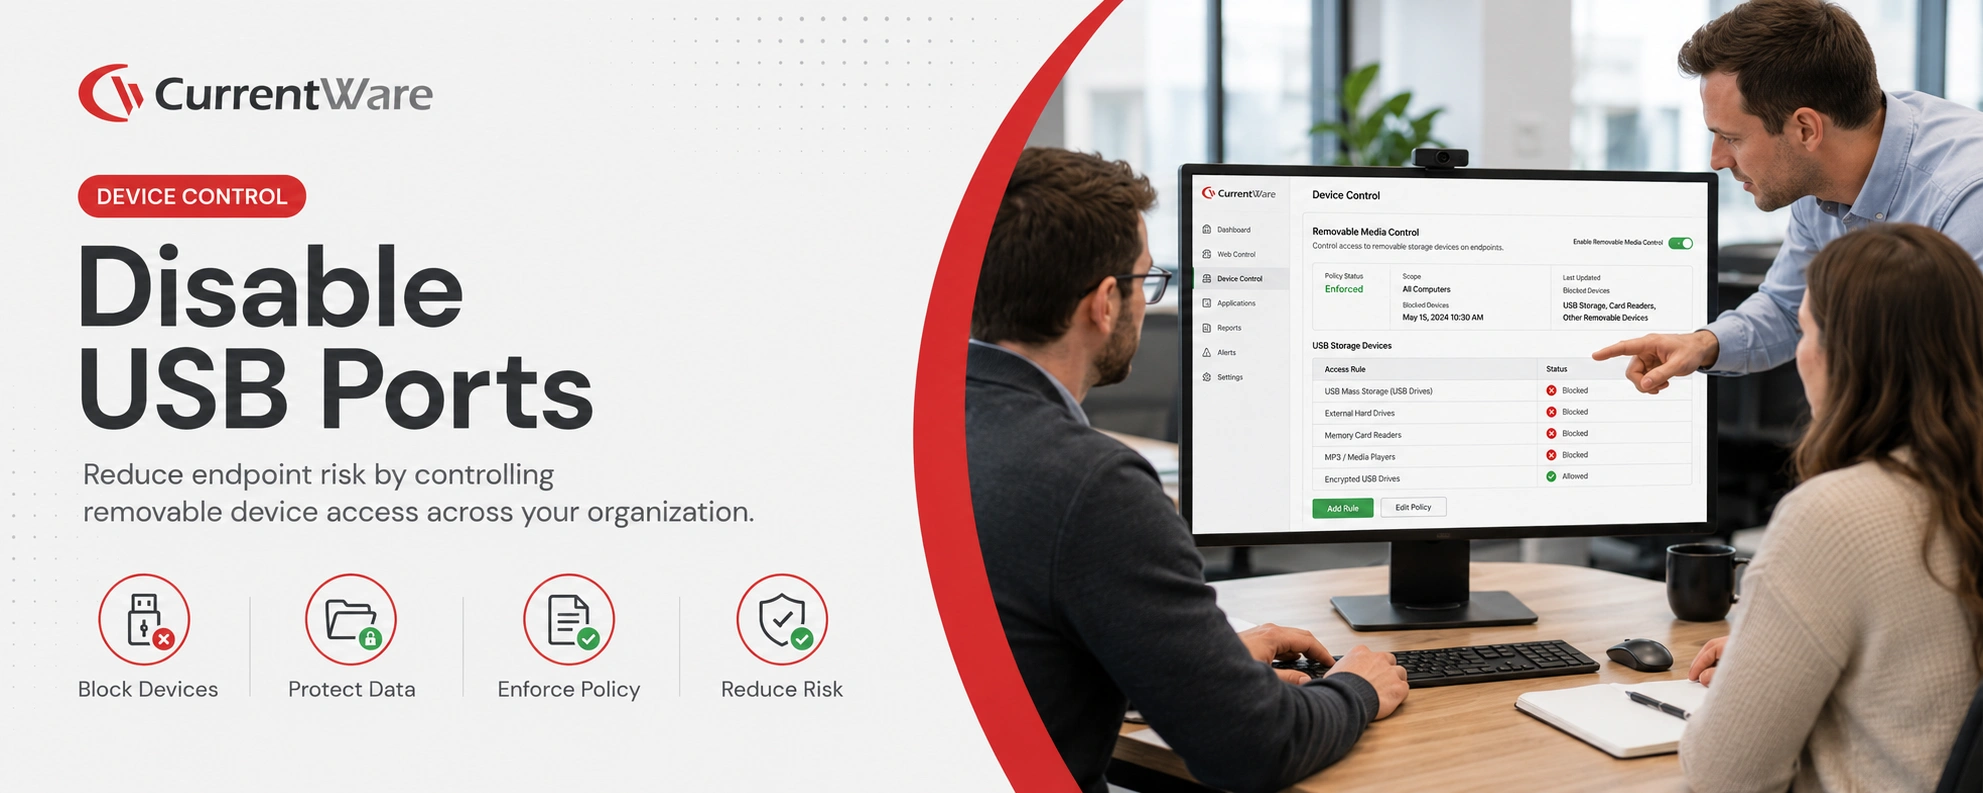
To prevent unauthorized data transfer, you can easily disable all USB mass storage devices across your network using clear, numbered steps within AccessPatrol.
C. How to Allow (Whitelist) a Specific USB Device
While maintaining a secure environment, AccessPatrol allows you to permit the use of company-approved USB devices. You can whitelist specific devices by their serial number, vendor ID, product ID, or other unique identifiers, ensuring that only trusted devices can connect to your endpoints.
D. How to Grant Temporary USB Access
For situations requiring temporary USB access without compromising your overall security policy, AccessPatrol offers an “Access Code Generator”. This practical solution allows you to grant limited, temporary access to USB devices when exceptions are needed.
E. How to Block Specific File Types from Being Transferred
Beyond simply blocking devices, AccessPatrol enables you to prevent the transfer of specific file types to or from USB devices. For instance, you can block the transfer of sensitive files like
PST, .BAK, or XLSX, to prevent data exfiltration.
Also Read: USB Access Control Software – Block Removable Storage Devices
6. Controlling More Than Just USBs: A Full List of Managed Devices
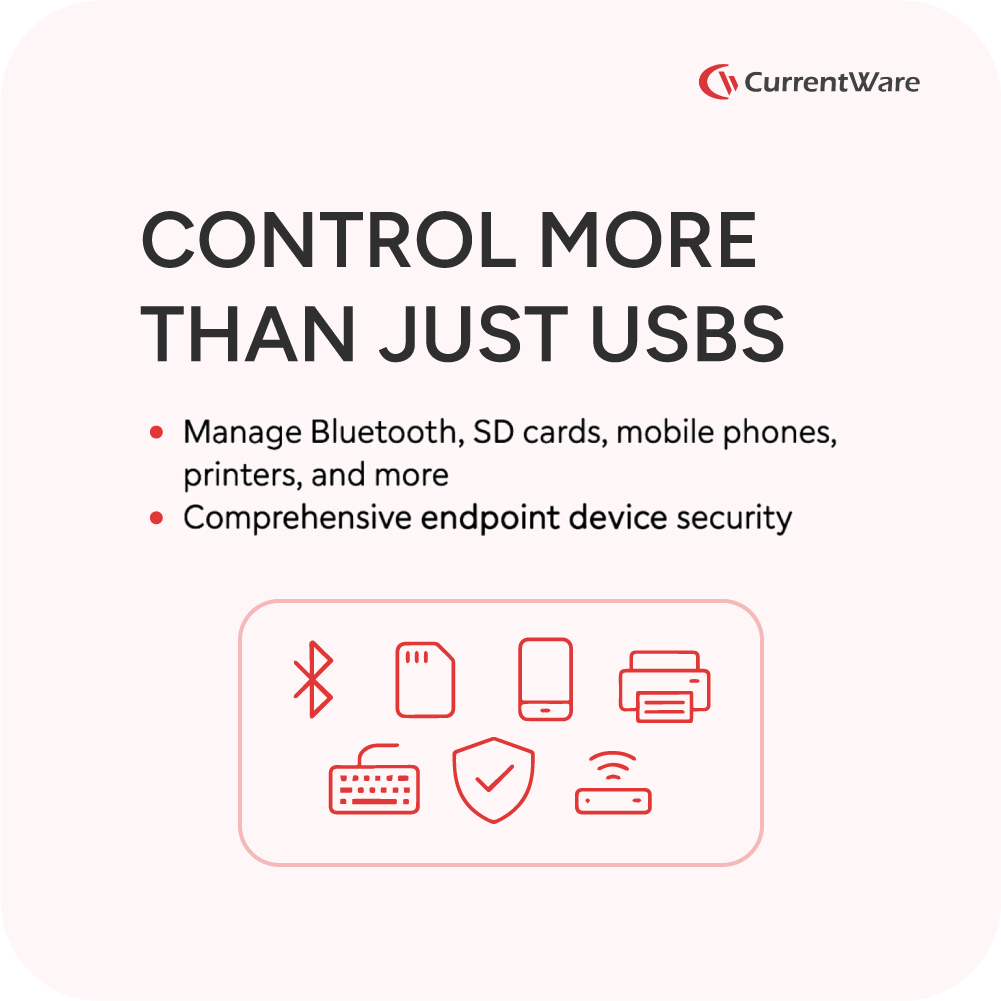
CurrentWare AccessPatrol extends its control capabilities far beyond just USB drives. The platform allows you to manage a wide range of devices, including Bluetooth devices, SD cards, mobile phones, and printers, providing a comprehensive solution for endpoint security. (This section would include a table from the original text detailing all managed devices).
Full List of Managed Devices
| Device Class | Devices | Access Permissions |
|---|---|---|
| Storage Devices | USB | Full / Read only / No access |
| DVD /CD | Full / Read only / No access | |
| Floppy | Full / Read only / No access | |
| Tape | Full / Read only / No access | |
| External Hard drive | Full / Read only / No access | |
| Firewire | Full / Read only / No access | |
| SD Card | Full / Read only / No access | |
| MM Card | Full / Read only / No access | |
| Wireless Devices | Bluetooth | Full / No access |
| Infrared | Full / No access | |
| Wifi | Full / No access | |
| Communication Ports | Serial | Full / No access |
| Parallel | Full / No access | |
| Imaging Devices | Scanners | Full / No access |
| Cameras, Webcams & Others | Full / No access | |
| Others | Printers | Full / No access |
| USB Ethernet Adapter | Full / No access | |
| Sound Cards | Full / No access | |
| Portable Devices (iPhones, Mobiles) | Full / No access | |
| Network Share | Full / No access |
7. Conclusion: Secure Your Windows 11 Endpoints Today
-
This method is best for disabling specific USB ports or devices.
- Open Device Manager: Right-click the Start button and select “Device Manager” from the menu.
- Locate Universal Serial Bus controllers: Expand the “Universal Serial Bus controllers” section.
- Disable USB Host Controller: Right-click on each “USB Root Hub” or “Generic USB Hub” entry and select “Disable device.” Confirm your action when prompted. Repeat this for all relevant entries.
Note: Disabling these can disable all devices connected to those controllers, including your mouse and keyboard if they are USB devices. You might need to use a PS/2 keyboard or mouse if available, or proceed with caution.
Using Registry Editor (Disables all USB storage devices)
This method is more advanced and can disable all USB storage devices, but typically won’t affect USB keyboards or mice.
- Open Registry Editor: Press Win + R, type regedit, and press Enter. Click “Yes” if prompted by User Account Control.
- Navigate to the correct key: Go to HKEY_LOCAL_MACHINESYSTEMCurrentControlSetServicesUSBSTOR.
- Modify the ‘Start’ value: In the right-hand pane, double-click on the “Start” DWORD value.
- Change Value: Change the “Value data” from 3 (enabled) to 4 (disabled).
- Restart your computer: For the changes to take effect, you must restart your computer.
- To re-enable USB ports: Change the “Start” value back to 3.
Using Group Policy Editor (For Windows Pro, Enterprise, and Education editions)
This method is more comprehensive and suitable for administrators managing multiple computers.
- Open Group Policy Editor: Press Win + R, type gpedit.msc, and press Enter.
- Navigate to Removable Storage Access: Go to Computer Configuration > Administrative Templates > System > Removable Storage Access.
- Configure policies: In the right-hand pane, you will find several policies related to removable storage:
- “All Removable Storage classes: Deny all access”: Double-click this policy, select “Enabled,” and click “OK” to disable all removable storage devices.
- You can also configure more specific policies like “Removable Disks: Deny read access” or “Removable Disks: Deny write access” to allow access but prevent data transfer.
- Apply changes: Close the Group Policy Editor. The changes should take effect immediately, but a restart might be required for some settings.
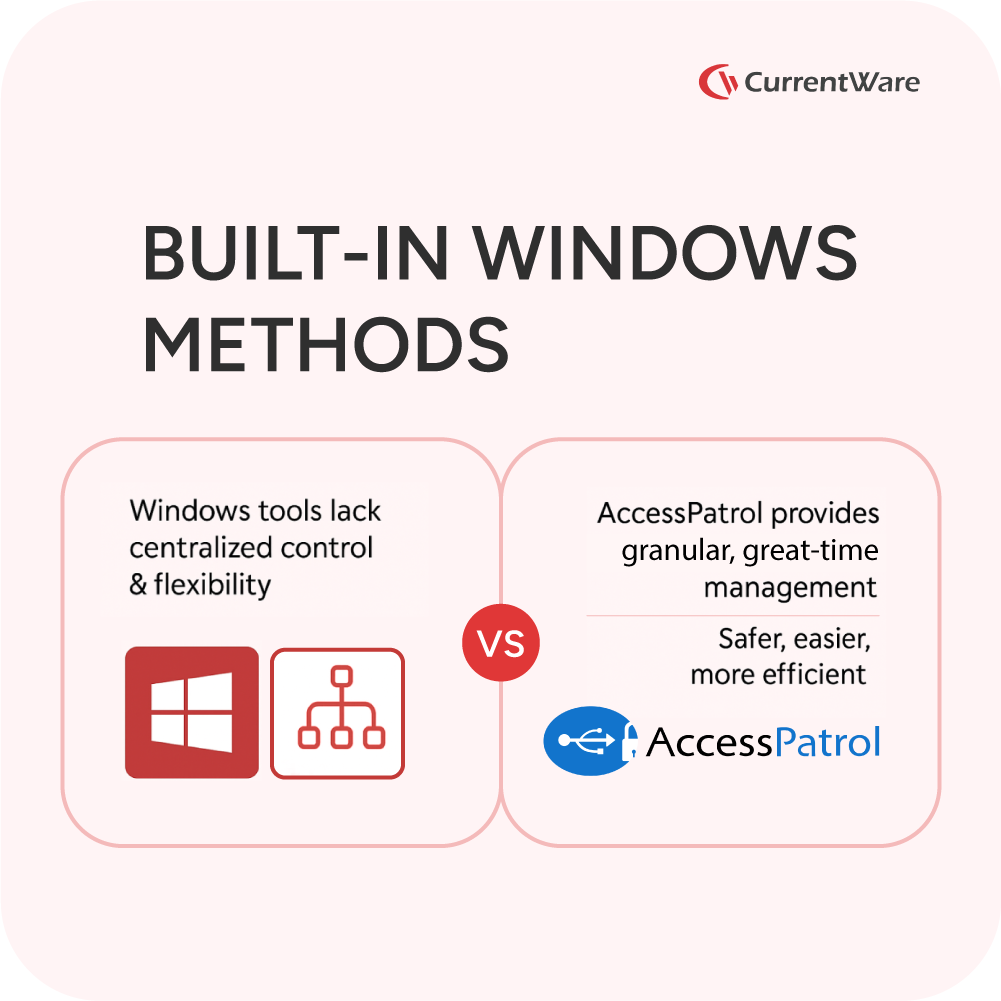
While these built-in methods offer ways to control USB access, they often lack the centralized management, granular control (e.g., allowing specific devices by serial number, temporary access codes), and real-time monitoring capabilities that dedicated solutions like CurrentWare AccessPatrol provide.
Also Read: USB Device Management – Whitelist Authorized Peripherals | AccessPatrol

Removable Media Policy Template
- Set data security standards for portable storage
- Define the acceptable use of removable media
- Inform your users about their security responsibilities
Get started today—Download the FREE template and customize it to fit the needs of your organization.
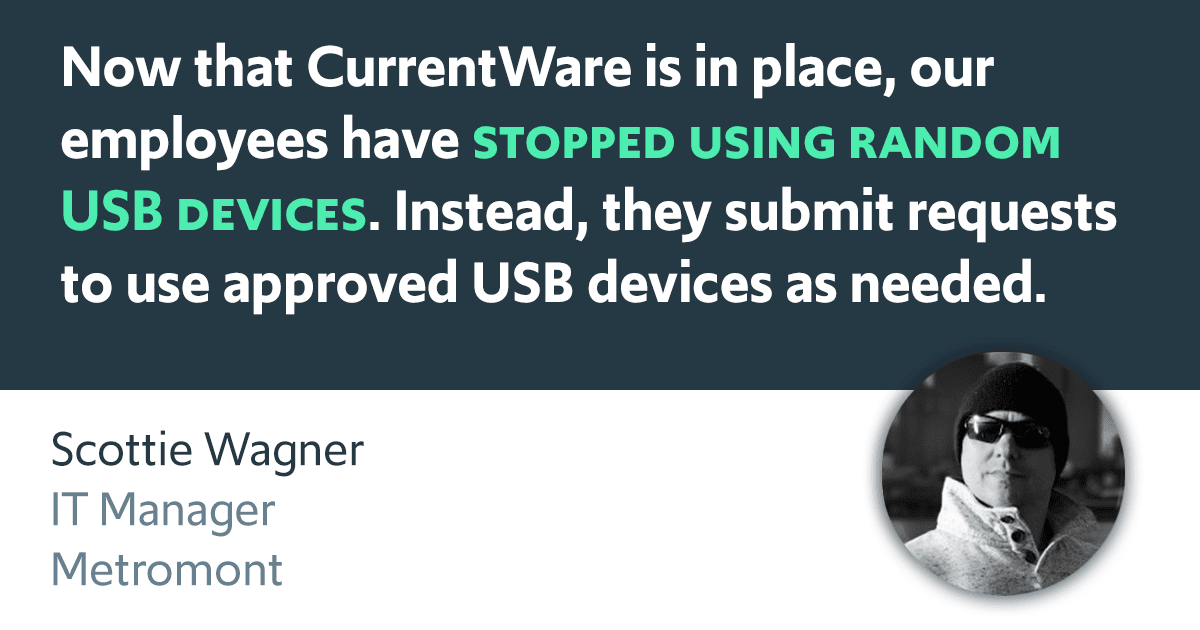
Case Study:
Metromont Improves User Awareness of USB Security Risks
Preventing users from inserting unauthorized removable media devices into company computers is an essential cybersecurity control.
Metromont realized the importance of USB security when an external security company performed a highly targeted USB drop attack on their employees.
Alarmingly, some of the employees plugged these unsanctioned USB drives into their work computers— A situation that otherwise could unknowingly grant threat actors access to sensitive information!
Read their case study to learn how CurrentWare’s USB restriction and USB device activity monitoring capabilities helped Metromont ensure compliance with their data security policies.

Start minimizing your software costs today.
Frequently asked
Frequently Asked Questions
-
Businesses should control USB ports primarily to enhance data security and prevent data loss (DLP), as unauthorized drives can exfiltrate data or introduce malware. This also aids in regulatory compliance and reduces attack surface.
-
Yes, CurrentWare’s AccessPatrol allows granular control to disable USB mass storage devices while permitting peripherals like keyboards, mice, and printers. Permissions can be set for specific users, groups, or computers.
-
Windows Device Manager is a manual, per-computer process, while Group Policy lacks granular control and real-time monitoring for USBs. Both methods are often inefficient and complex for scalable business-wide USB management.
-
Yes, AccessPatrol effectively prevents data exfiltration by blocking unauthorized file transfers to USB drives. It also provides comprehensive audit trails and reports detailing all USB connections and transfer attempts.
-
Yes, AccessPatrol offers flexible features like an “Allowed List” for specific approved devices and an “Access Code Generator” for issuing time-limited access codes. This enables secure, controlled exceptions for operational needs.
-
If you would like to completely disable individual USB ports on a per-computer basis, you can do so with Windows Device Manager. This method is the most cumbersome to manage when an employee needs legitimate access to authorized USB devices as you will need to manually unlock the ports from the device itself rather than using a central console.
- Log in to an administrator account.
- Right-click on the Start menu.
- Click on Device Manager.
- Click on Universal Serial Bus controllers to view all of the USB ports.
- Right click on the USB port that you would like to disable.
- Select “Disable device”.
- Restart the computer to apply the changes.
To ensure that the employee does not manually unlock the ports you will need to ensure they do not have access to an administrator account. To re-enable the ports simply perform steps 1-5 and select “Enable device”.
-
If you would like detailed instructions on how to use a Group Policy Object to block employees from using USB devices you can visit this guide on the CurrentWare blog.
Although applying group policies is a useful way to control the usage of USB storage devices in an organization, there are disadvantages that should not go unnoticed.
GPO vs USB Blocking Software:
- Applying unique USB restrictions to different departments and users with a GPO is complicated for the average user. It also requires proficiency with Active Directory to manage at-scale.
- Dedicated USB mass storage device blocking software such as AccessPatrol is easy to manage, allowing the modification of policy updates to be delegated to less technically savvy users.
- Managing unique USB policies for individual users is more intuitive when using dedicated USB blocking software.
Still have questions?
Talk to a CurrentWare specialist who has deployed monitoring at 200+ law firms.